
How to Inspect a New Roof Installation Before Making the Final Payment

Once the final payment is released, leverage drops sharply. Most workmanship warranties still apply, but correcting issues is faster and less contentious while the crew is still on site or the contractor remains fully engaged. A structured walkthrough takes less than an hour on a typical residential roof and focuses on the details that most often determine long-term performance.
Safety comes first. If the roof is steep or high, view what you can from the ground, ladder (if stable and appropriate), or through binoculars, and consider hiring an independent inspector for the rest. Never walk a roof you are not comfortable on.
Exterior Checks From the Ground and Ladder
Overall Appearance and Alignment
Shingles should form straight, consistent courses. Large waves, obvious misalignment, or uneven exposure across a slope suggest rushed work. Color should be uniform with no mixed batches creating visible bands.
Edges and Perimeter
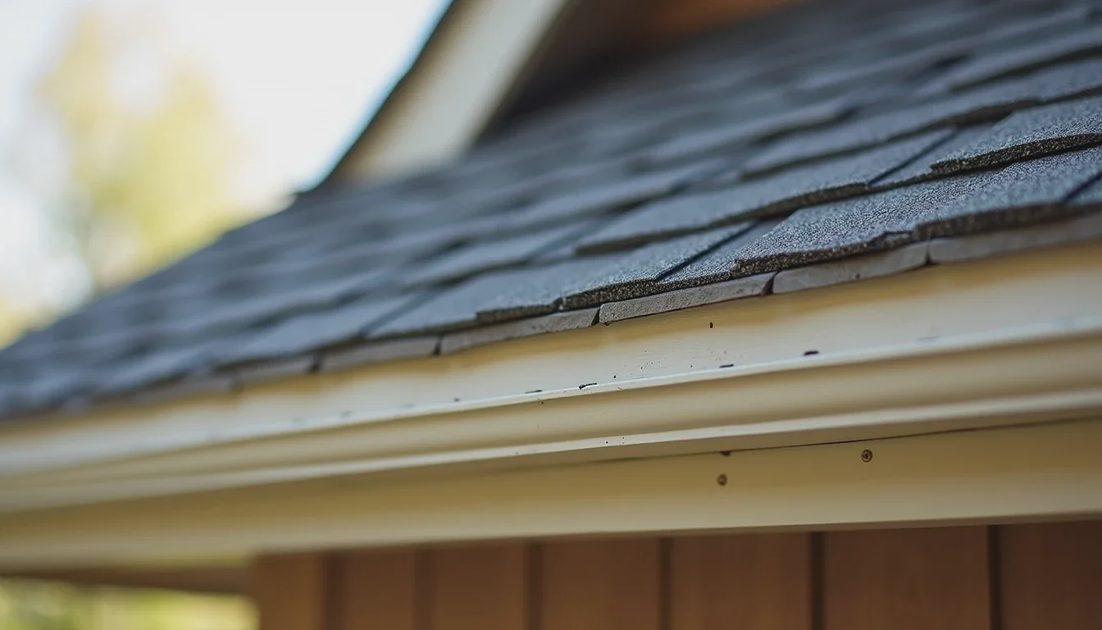
Look for a proper starter course at the eaves and rakes. The first row of shingles should sit on a starter strip, not directly on the edge. Overhang should be consistent—usually about ¼ to ¾ inch beyond the drip edge. Excessive overhang invites wind damage; too little allows water to run behind the fascia.
Drip edge should be present and securely fastened along eaves and rakes.
Valleys
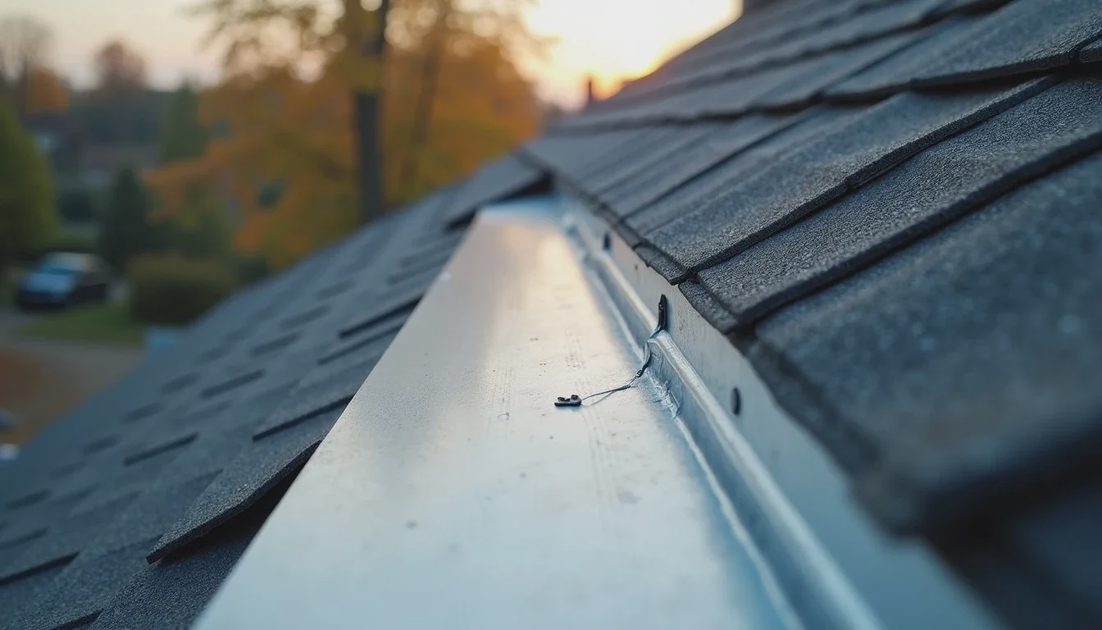
Valleys should be clean and correctly finished according to the method used (open metal, closed-cut, or woven). Exposed fasteners, wrinkled underlayment, or debris left in the valley are red flags. Metal valleys should show adequate width and proper integration with the shingles.
Flashing and Penetrations
Step flashing at roof-to-wall intersections should be new and woven with the shingles, not continuous L-metal simply placed against the wall. Counter-flashing on chimneys should be properly embedded or sealed. Pipe boots should be new, correctly sized, and sealed at the collar. Skylight flashing should follow the manufacturer’s kit details with no gaps on the upslope side.
Ridge and Hips
Ridge cap shingles should be straight, properly fastened, and sealed. If a ridge vent is installed, it should run continuously where designed and be covered with matching ridge cap. Ends should be closed to keep out weather and pests.
Cleanliness
Magnetic nail sweep should have removed loose fasteners from the yard and driveway. Debris, old shingles, and packaging should be gone. Gutters should be clear of granules and scraps from the new installation.
Attic-Side Checks (When Accessible)
From inside the attic, look for:
Consistent nail penetration through the deck—nails should be visible and properly seated, not overdriven or missing
No shiny nail tips sticking far into the attic (underdriven from above)
Dry decking with no soft spots or active moisture
Clear soffit intake pathways and unobstructed ridge or exhaust vents
Baffles in place so insulation does not block airflow
Daylight streaming through the deck in multiple places is a concern. A few small gaps at joints can be normal on board decks; widespread openings are not.
Documentation Review
Before final payment, confirm you have:
The written contract matching the completed scope
Product information (brand and exact shingle line used)
Manufacturer warranty registration details or confirmation that registration will be completed
Workmanship warranty terms in writing
Permit final inspection sign-off if required in your area
Any agreed change orders documented and priced
Ask for photos of the deck condition after tear-off and of key details (valleys, flashing, underlayment) if they were not provided earlier. Many reputable contractors already document these stages.
Common Issues Found at Final Walkthrough
Missing or incomplete starter course
Reused or poorly sealed pipe boots
Step flashing that is continuous rather than individual pieces woven with shingles
Ridge vent installed without adequate soffit intake
Debris left in valleys or gutters
Visible overdriven or high nails from the attic
Uneven shingle alignment on prominent slopes
Most of these can be corrected relatively quickly while the contractor is still responsible.
How to Handle Problems
Note every issue in writing, ideally with photos and locations. Provide the list to the contractor and request a clear timeline for corrections. Withhold only a reasonable portion of the final payment tied to the remaining work, consistent with the contract terms. Once corrections are verified, release the balance.
If the contractor becomes unresponsive, the written punch list and contract become the basis for any further action, including involving the manufacturer for system-warranty issues or local licensing authorities if necessary.
Independent Inspection Option
On higher-value or more complex roofs, or when you simply want a second set of trained eyes, an independent roof inspector or a qualified third-party can perform the final review. The cost is usually modest compared with the price of the roof and can identify issues that are easy to miss without experience.
A new roof is a long-term system. The hour spent checking the finished work before final payment is one of the highest-leverage steps a homeowner can take to protect that investment. Most problems found at this stage are correctable. Problems discovered two years later are often more expensive and more contentious to resolve.
Keep Reading

How to Verify a Roofing Contractor’s License, Insurance, and Track Record
Before signing any roofing contract, confirm the contractor holds a current stat...
Underlayment Explained: Why the Layer Under Your Shingles Matters
Underlayment is the secondary water barrier beneath shingles. Modern synthetic p...
The Installation Mistakes That Ruin Even Good Shingles
Even high-quality architectural shingles fail early when nailing, flashing, unde...
Owner Letters
0 lettersNo letters yet — be the first to write one.