
The Installation Mistakes That Ruin Even Good Shingles
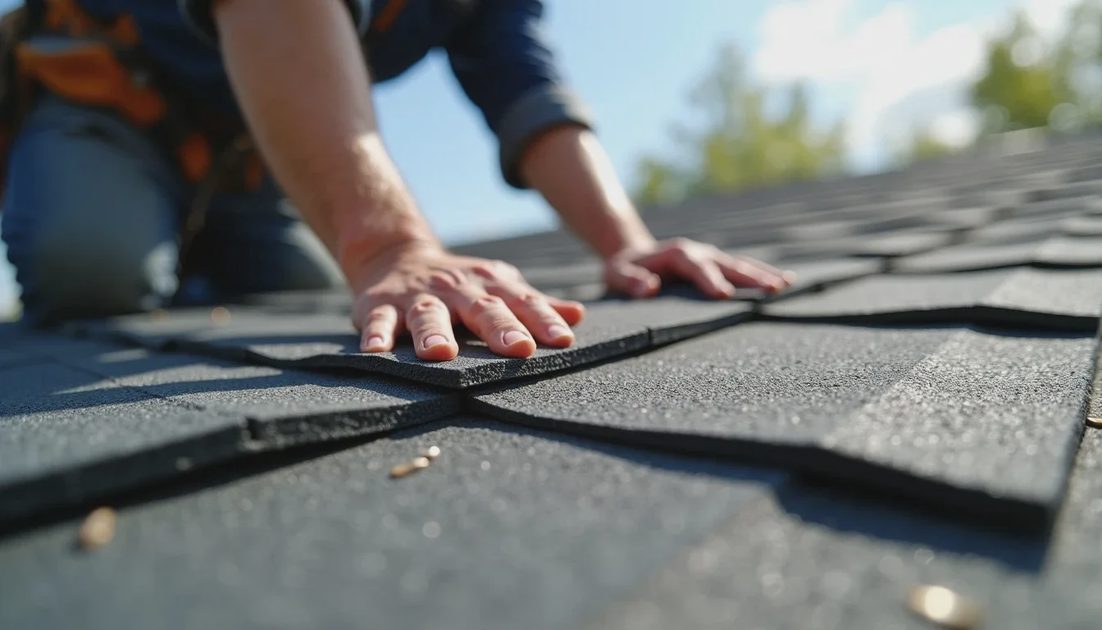
A premium architectural shingle can be manufactured to high standards and still deliver a short service life if the installation is flawed. Most manufacturer warranties explicitly require installation according to their written instructions. When those instructions are ignored, the material warranty often does not apply, and the problem falls to the workmanship side—or to the homeowner.
The mistakes that cause the most damage are rarely dramatic. They are small, repeated details that accumulate into leaks, wind damage, and accelerated aging.
Nailing Errors
Nailing is the most frequent source of early failure.
High Nailing
Nails placed above the manufacturer’s designated nail line miss the reinforced common bond area of the shingle below. The shingle is then held mainly by the seal strip. In moderate to high winds the tabs lift, the seal breaks, and progressive blow-off begins.
Overdriven and Underdriven Nails
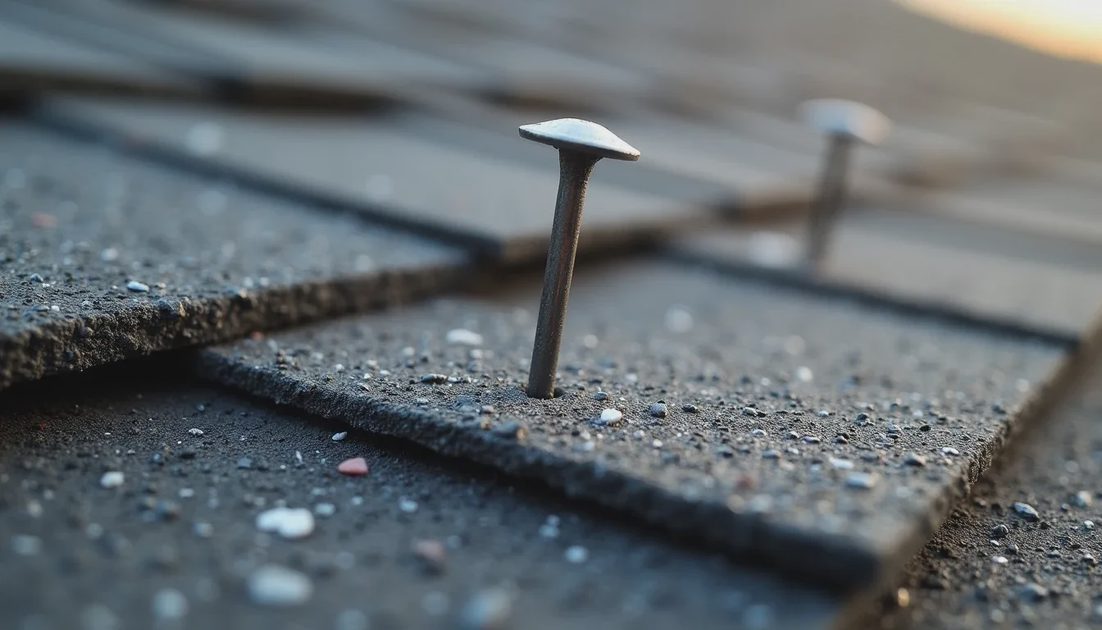
Overdriven nails cut or crush the shingle mat, reducing holding power and creating a tear point. Underdriven nails leave the head proud; the shingle above slowly wears against that raised head until a hole forms. Both conditions are common when pneumatic nailers are set incorrectly or when the deck is uneven.
Wrong Number or Pattern of Nails
Most architectural shingles require four or six nails per shingle in specific locations. Using fewer nails, especially in high-wind zones, leaves the system under-fastened. Skipping the manufacturer’s pattern also voids wind coverage on many warranties.
Missing or Incorrect Starter Course
Starter shingles (or starter strip) at the eaves and rakes provide the first seal and the proper overhang. Installing the first course of regular shingles directly on the edge creates water channels at the joints and reduces wind resistance at the most vulnerable perimeter. The result is early edge lift and leaks along the eaves.
Flashing and Penetration Failures
Flashing is where many roofs first leak.
Step Flashing and Wall Intersections
Step flashing must be woven with each course of shingles at roof-to-wall joints. Reusing old metal, using continuous L-flashing instead of individual steps, or failing to counter-flash properly leaves a direct path for water.
Pipe Boots and Vents
Rubber or plastic pipe boots degrade with UV exposure. Installing them without proper sealant at the collar, or reusing cracked boots, creates leaks that often appear years later. Metal boots with correct storm collars are more durable but still require careful sealing.
Chimneys and Skylights
Chimney flashing needs both step flashing and a counter-flashing embedded in the masonry or properly sealed. Skylights require specific flashing kits and a back dam on the upslope side. Generic or incomplete detailing around these features is a frequent source of chronic leaks.
Underlayment and Ice-and-Water Shield Shortcuts
Underlayment is the secondary water barrier. Wrinkles, insufficient overlap, staple fastening instead of capped nails, or incomplete coverage leave the deck exposed when wind-driven rain or ice dams push water under the shingles.
Ice-and-water shield is especially critical at eaves, valleys, and around penetrations. Limiting it to the minimum code width or skipping it in valleys saves a small amount on the estimate and creates a large long-term risk in cold or wet climates.
Ventilation Neglect
Attic ventilation is not optional. Inadequate intake or exhaust traps heat and moisture against the underside of the deck. Shingles bake from below, granules release faster, and the asphalt binder ages prematurely. In cold climates the same imbalance contributes to ice dams that force water under the shingles.
Balanced soffit intake and ridge (or equivalent) exhaust, with clear pathways and proper baffles, is part of a complete installation. Ignoring it shortens the life of even the best shingles.
Alignment, Exposure, and Valley Details
Shingles must be installed with the correct exposure (the portion left visible) and proper side-lap offset so that joints do not align vertically. Consistent misalignment creates channels that can direct water toward fasteners or weak points.
Valleys require specific treatment—open metal, closed-cut, or woven—according to the manufacturer and the roof design. Improper valley construction is another high-frequency leak location.
Installing Over Compromised Decking
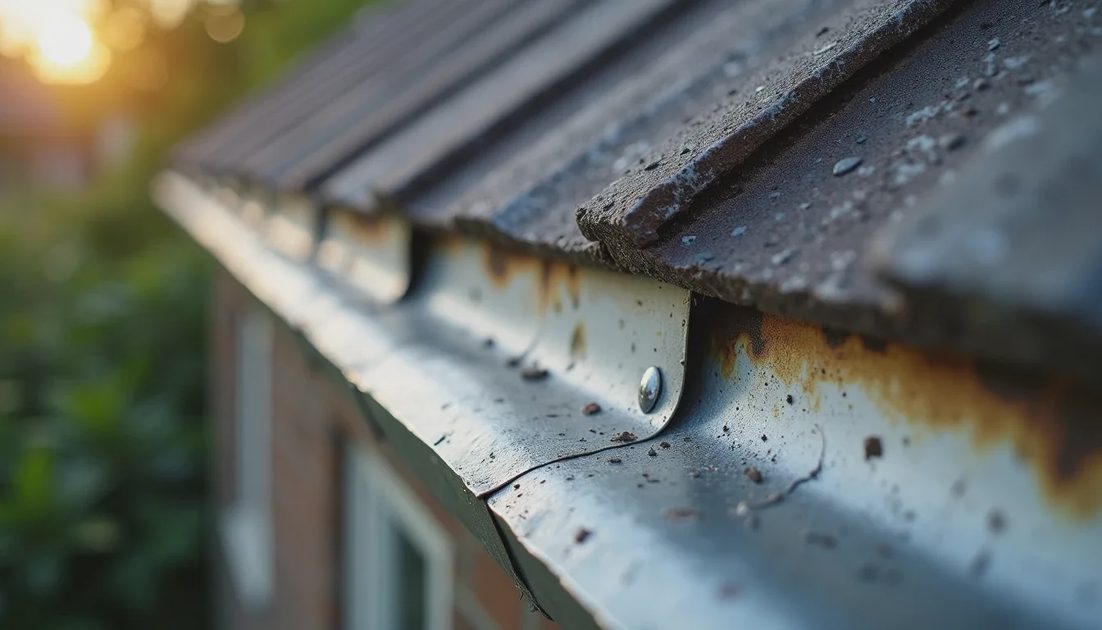
New shingles cannot correct soft, delaminated, or rotted decking. Fasteners lose holding power, the surface becomes uneven, and moisture problems continue. A proper installation includes inspection and replacement of damaged sheathing before the new underlayment and shingles go down. Skipping this step guarantees early problems.
How These Mistakes Interact With Warranties
Manufacturer warranties typically exclude coverage when installation does not follow published instructions. Nailing errors, missing starter, improper flashing, and inadequate ventilation are among the most common reasons claims are denied. The workmanship warranty from the contractor then becomes the primary protection—if it is still in force and the company is still in business.
What Homeowners Can Observe
Many of these errors are not visible from the ground once the job is finished. Some clues can still be checked:
Consistent nail lines visible from the attic side (if accessible)
Presence of starter strip at eaves
New step flashing at walls rather than continuous or reused metal
Defined ice-and-water coverage in valleys and at eaves
Working ridge vent and clear soffit intake
A post-installation inspection by an independent professional can catch problems while the contractor is still responsible for corrections.
Good shingles are only as reliable as the details underneath and around them. The difference between a roof that lasts its expected service life and one that needs major repairs in half that time is usually found in these installation fundamentals rather than in the brand name on the wrapper.
Keep Reading

How to Find the Top Roofing Companies Near Me
top roofing companies near me: compare local roofers by materials, quotes, warra...

How to Find the Best Roofing Company for Your Home
Find the best roofing company for your home with practical advice on quotes, mat...

How to Find the Best Roofers for Your Home
Find the best roofers for your home with a practical guide to quotes, materials,...
Owner Letters
0 lettersNo letters yet — be the first to write one.