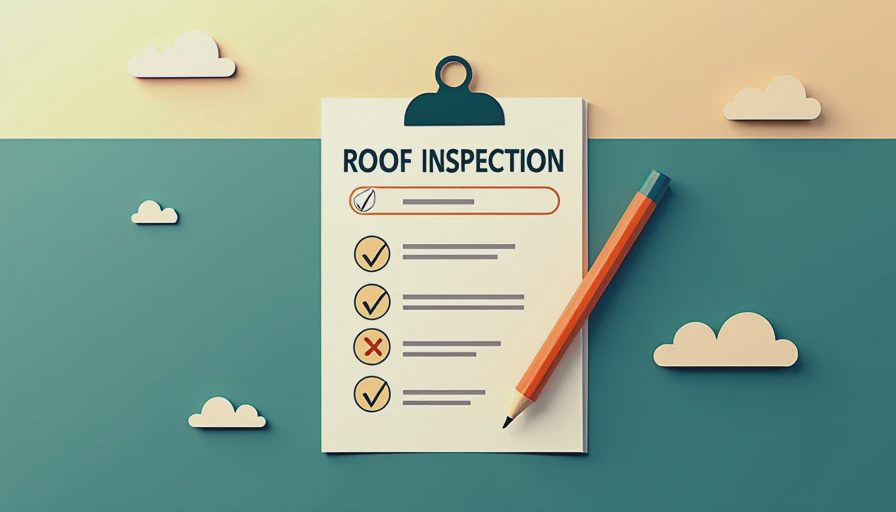
Roof Inspection Checklist: What Homeowners Should Check Before Getting Quotes

A roof inspection checklist gives you a practical way to understand your roof before a contractor arrives. You do not need to climb onto the roof or diagnose every defect yourself. A careful ground-level review can reveal warning signs, organize questions, and help you compare quotes based on actual work rather than sales pressure. Use this roof inspection checklist as a homeowner’s first pass, then hire a qualified professional for areas that require ladders, attic access, or specialized equipment.
Start With Safety and Basic Records
Safety comes first. Do not walk on a wet, steep, icy, or visibly damaged roof. Avoid leaning ladders against gutters, and never step onto a roof if you are not comfortable with the height or surface. Binoculars and a camera with zoom are usually enough for an initial review.
Find your installation records, previous invoices, warranty paperwork, and insurance documents. If you know the roof’s age, write it down. Asphalt shingles often provide roughly 15 to 30 years of service, while metal, clay tile, and some premium systems can last longer when properly installed and maintained. Those are broad expectations, not promises; ventilation, weather, roof pitch, material quality, and workmanship all affect lifespan.
Walk around the property and photograph each roof slope from the yard. Note the address, date, weather, and visible concerns. This simple record makes it easier to tell whether a stain is new or has looked the same for years. It also gives contractors a clear starting point when you request estimates.
Exterior Items to Check From the Ground
The next part of the roof inspection checklist focuses on visible exterior conditions. Look for shingles that are missing, cracked, curled, buckled, or covered with dark streaks. A few damaged shingles can sometimes be repaired, but widespread granule loss, brittle edges, and uneven rows suggest broader aging. Check the ground near downspouts for piles of colored granules, especially after heavy rain.
Inspect the roofline for sagging. A dip between rafters can indicate damaged decking, framing movement, or prolonged moisture exposure and deserves prompt professional attention. Look at flashing around chimneys, skylights, roof valleys, plumbing vents, and wall intersections. Rusted metal, lifted edges, cracked sealant, or gaps around these transitions are common leak paths.
Gutters and downspouts are part of roof performance. Confirm that gutters are attached securely and that water flows toward extensions or drainage areas away from the foundation. Moss and small plants should not be ignored, particularly when they hold moisture against shingles. Trimming branches that scrape the roof can reduce surface wear, but tree work should be handled safely from the ground or by a qualified service.
Attic and Interior Warning Signs
Your roof inspection checklist should include the spaces below the roof. In the attic, use a flashlight to look for dark wood, water marks, damp insulation, mold-like growth, daylight through the roof deck, or rusty nails. Check whether insulation is compressed or wet. A bathroom fan that exhausts into the attic instead of outdoors can add moisture and shorten the life of roof materials.
Inside the home, inspect ceilings and upper-wall corners for brown rings, peeling paint, bubbling drywall, or musty odors. A stain does not always appear directly beneath the leak because water can travel along rafters and roof decking. Do not assume a dry ceiling means the roof is sound; intermittent leaks often disappear between storms.
Ventilation deserves specific attention. Many asphalt roofs suffer when intake vents at the eaves are blocked or when exhaust vents are poorly balanced. Excess attic heat and moisture can contribute to shingle deterioration, condensation, and higher cooling demand. Ask an inspector to explain the existing ventilation layout rather than accepting a vague recommendation to add vents.
How to Turn Findings Into Better Quotes
Bring your notes and photos to at least two or three established roofing contractors. A useful roof inspection checklist separates observations from conclusions. For example, write “three curled shingles above the garage” rather than “the entire roof needs replacement.” Let the contractor explain whether the issue calls for a repair, partial replacement, or a complete system.
A quote should identify the proposed shingle or roofing material, underlayment, flashing approach, ventilation work, tear-off method, cleanup, permits, and labor warranty. It should also state whether damaged decking is included or charged by the sheet. For common asphalt projects, homeowners may see total quotes ranging from several thousand dollars for a smaller repair or simple roof to well over $15,000 for a larger replacement, with metal, tile, steep slopes, and complex geometry often costing more.
Compare the scope, not just the bottom-line price. A $9,000 estimate that excludes chimney flashing or disposal is not automatically cheaper than an $11,000 estimate that includes those items. Ask who performs the work, how long the project should take, and how the contractor protects landscaping, siding, driveways, and outdoor equipment.
Repair, Replace, or Monitor?
The roof inspection checklist can help frame the decision, but the pattern and location of damage matter more than one alarming photograph. A small puncture, a few loose shingles, or failed flashing may be a reasonable repair when the surrounding roof is in good condition. A roof with widespread granule loss, repeated leaks, exposed underlayment, sagging decking, or several layers of old roofing is more likely to need replacement.
Age changes the calculation. Spending $800 on repairs can make sense on a roof that is eight years old, but repeated repairs on a 25-year-old asphalt roof can become an expensive delay. Conversely, replacing a roof solely because of a small cosmetic issue is rarely good value. Request a written explanation of remaining service life and ask whether the contractor found active moisture, structural damage, or only surface wear.
Be cautious when someone recommends a full replacement without showing specific defects. You should also be cautious of a contractor who promises a permanent repair without inspecting the attic, flashing, and drainage. Good advice connects the recommendation to observed conditions and explains what happens if you wait six months or one year.
Final Questions Before Signing
Use this final roof inspection checklist before accepting a proposal. Confirm the contractor’s license or registration requirements for your area, proof of general liability insurance, workers’ compensation coverage, references, and physical business contact information. Ask who obtains permits and who handles manufacturer warranty registration. Do not rely on a manufacturer warranty to correct poor installation; many material warranties have conditions and do not replace the value of competent workmanship.
Confirm payment milestones in writing. Avoid paying the entire balance before work begins, and be wary of pressure to sign immediately after a storm. Read the cancellation terms, change-order process, cleanup promise, start window, and workmanship warranty. If decking, soffit, fascia, or ventilation could add cost, ask for unit prices before the crew arrives.
The best outcome is not always the cheapest roof. It is a roof system with suitable materials, correct flashing, effective drainage, sound ventilation, and careful installation. Save your photographs and final invoice after the project, then inspect gutters and roof-visible areas twice a year and after severe weather. This roof inspection checklist will not replace a professional evaluation, but it can help you spot problems earlier and choose a cleaner, more defensible roofing quote.
Keep Reading

How to Extend Roof Lifespan: Practical Advice for Homeowners
Learn how to extend roof lifespan with practical maintenance, ventilation, mater...

Roof Lifespan by Material: A Homeowner’s Guide to Replacement Timing
Roof lifespan by material: compare asphalt, metal, tile, wood, and slate roofs b...
Repair vs Replace Roof: A Homeowner's Guide to the Right Choice
Repair vs replace roof: learn how to judge damage, compare costs, spot hidden ri...
Owner Letters
0 lettersNo letters yet — be the first to write one.